VEHICLE SETUP HUB
Give every item a working zone—and every failure a recovery path.
A useful layout identifies the right order, restrains normal movement, protects controls, and resets quickly.
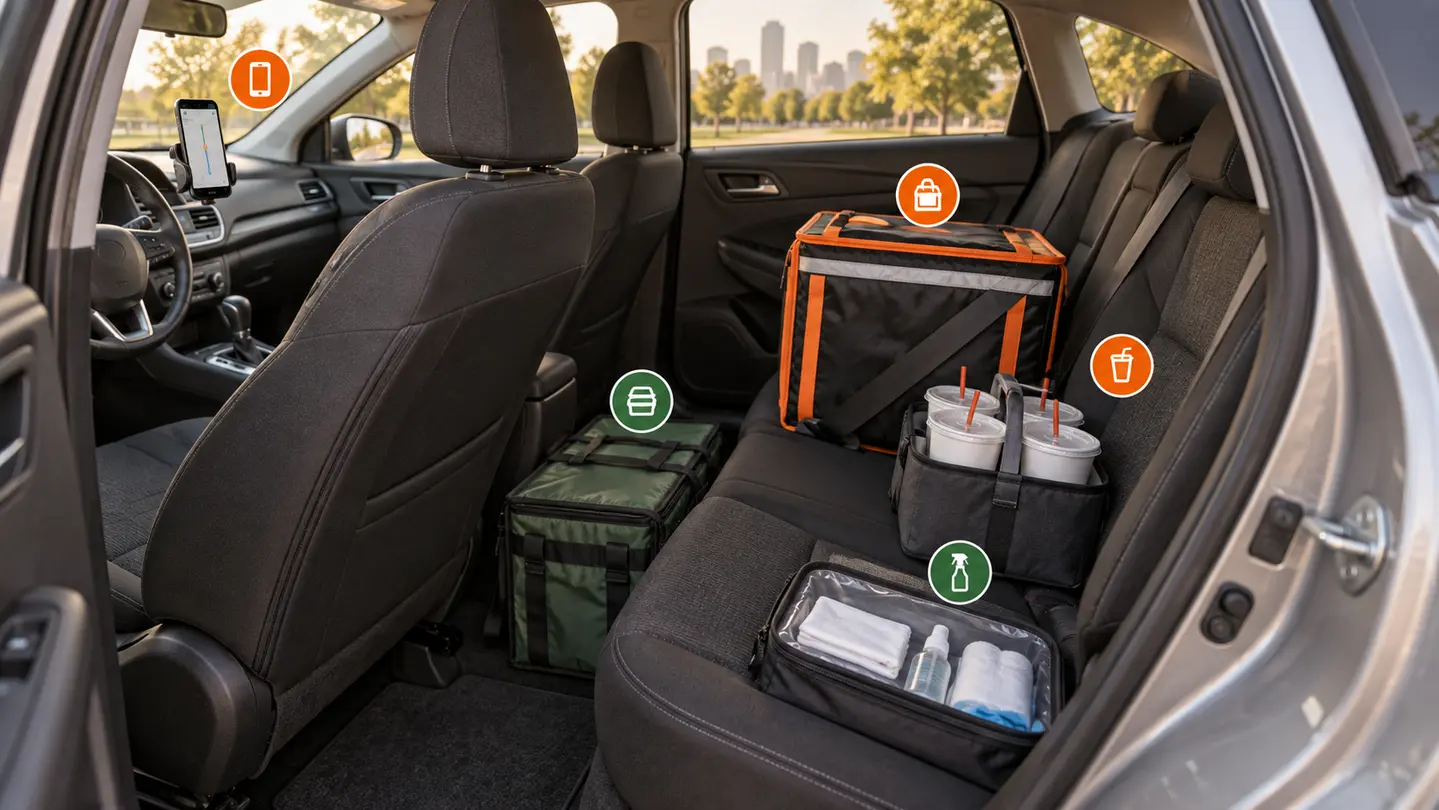
Organization matters only when it survives real loading. Sloped seats, small doors, shared passenger space, identical bags, route changes, and leaks can defeat a layout that looked tidy while empty. Design around movement, identity, access, and recovery rather than filling the cabin with permanent accessories.
SAFETY BOUNDARY
Start with what must not fail
- Nothing should obstruct pedals, steering, shifter movement, mirrors, visibility, or airbags.
- Cargo must remain stable under normal braking and turns; a soft seat does not provide restraint.
- Preserve occupant space and follow vehicle loading, seating, electrical, and safety instructions.
- Park safely before changing order positions, retrieving equipment, or responding to a shifted load.
RECOMMENDED ORDER
Build the system in four passes
Record surfaces, seat slope, openings, cargo dimensions, tie-downs, passengers, and emergency access.
Define driver information, active order, drinks, reserve cargo, and closed cleanup or personal storage.
Use labeled non-food ballast to simulate restaurant orders, drinks, groceries, and a cleanup event.
A system that is hard to remove, clean, relabel, or restore is unlikely to stay consistent.
CHOOSE YOUR PROBLEM
Guides in this section
Set up your car for food delivery
Build five zones and test identity, stability, retrieval, cleanup, and removal.
Read guide →MULTI-ORDER SYSTEMGrocery delivery trunk setup
Organize heavy, fragile, cold, rolling, and leak-risk goods by customer.
Read guide →CAMERA FITDash cam fit for gig drivers
Check placement, sightline, wiper coverage, power, routing, storage, heat, and privacy.
Read guide →SYSTEM PRIORITIESDelivery-driver gear guide
Start with repeated failures and include the ownership burden of every item.
Read guide →What you will not find here
GigStriker does not name paid winners or turn specifications, popularity, or generated illustrations into evidence of product performance. Comparisons will appear only after candidates complete the same disclosed protocol. Until then, these pages help define the job, verify fit, improve the workflow, and identify what still needs testing.