PHONE & POWER HUB
Keep the work screen stable, visible, and powered.
Build one dependable system from the vehicle surface to the phone, charging cable, adapter, workload, and safe routine.
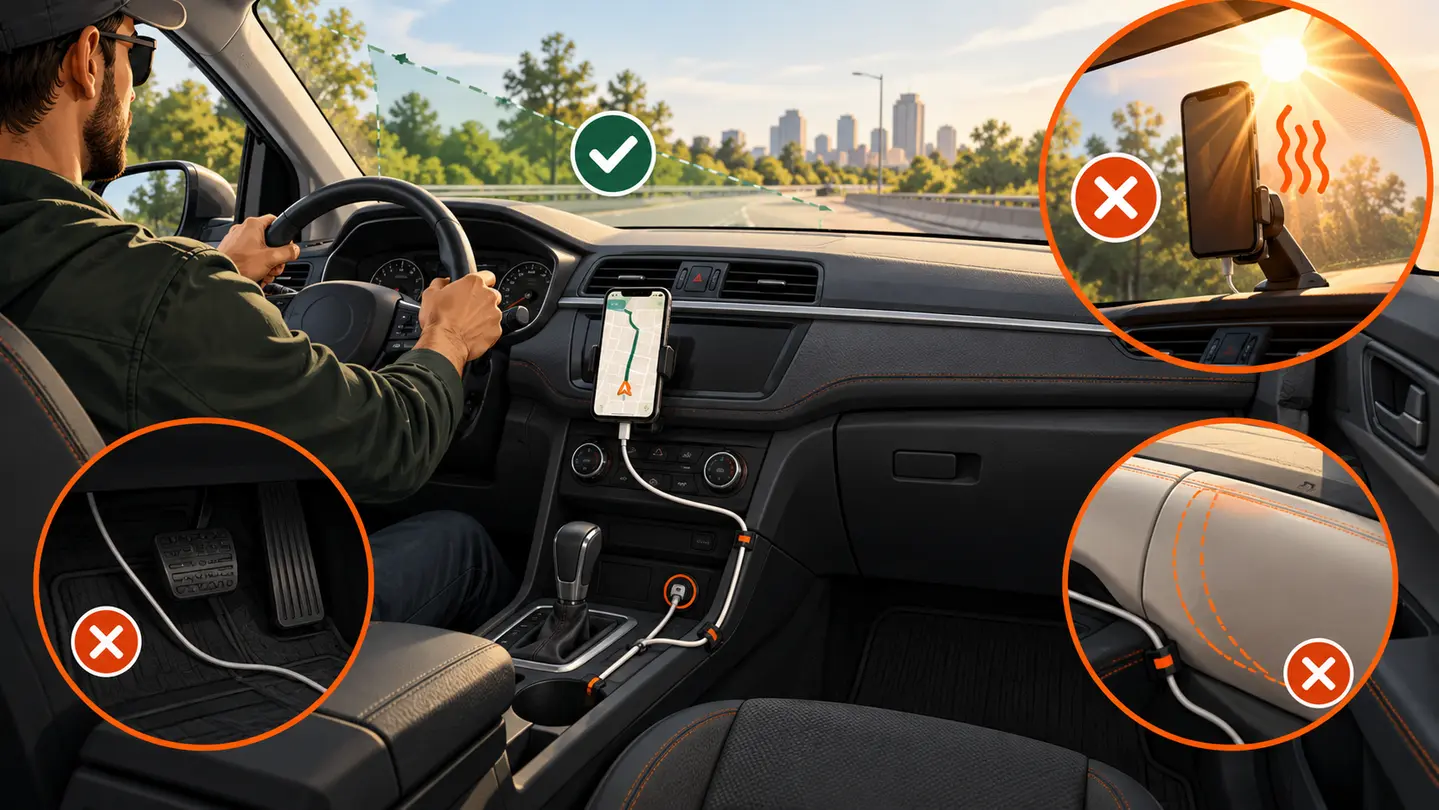
Delivery work can keep navigation, location services, cellular data, a bright screen, audio, and repeated app activity running together. A mount and charger should therefore be evaluated as one system. Start with lawful placement and physical fit, then verify stability, cable clearance, heat exposure, and battery behavior during a representative shift.
SAFETY BOUNDARY
Start with what must not fail
- Choose a lawful location that does not obstruct the road, mirrors, controls, displays, or airbags.
- Configure routes, reposition hardware, and recover a fallen phone only while safely parked.
- Keep cables away from pedals, steering, shifter movement, seat tracks, sharp edges, and airbag paths.
- Follow device temperature and moisture warnings; a charging icon does not prove adequate usable power.
RECOMMENDED ORDER
Build the system in four passes
Record vehicle, attachment surface, phone, case, cable, adapter, orientation, climate, and shift length.
Check holder range, release motion, button and camera clearance, charging access, sightline, and safe failure zone.
Track battery change and temperature warnings under representative use. Stability tests need the same route and configuration.
Change one component at a time so the result identifies a cause instead of introducing more unknowns.
CHOOSE YOUR PROBLEM
Guides in this section
Phone mount fit guide
Match the holder, release motion, cable, attachment, sightline, and vehicle controls.
Read guide →POWER GUIDEKeep a phone charged through a shift
Diagnose the vehicle supply, adapter, cable, workload, connection, and temperature.
Read guide →FOUNDATIONDelivery-driver gear priorities
Confirm that phone equipment addresses a repeated work failure before buying.
Read guide →How we test phone-mount stability
Review the configuration record, repetitions, reference marks, failure definitions, and limits.
What you will not find here
GigStriker does not name paid winners or turn specifications, popularity, or generated illustrations into evidence of product performance. Comparisons will appear only after candidates complete the same disclosed protocol. Until then, these pages help define the job, verify fit, improve the workflow, and identify what still needs testing.